
Base Layers
And a short process video!

Hello Collagers,
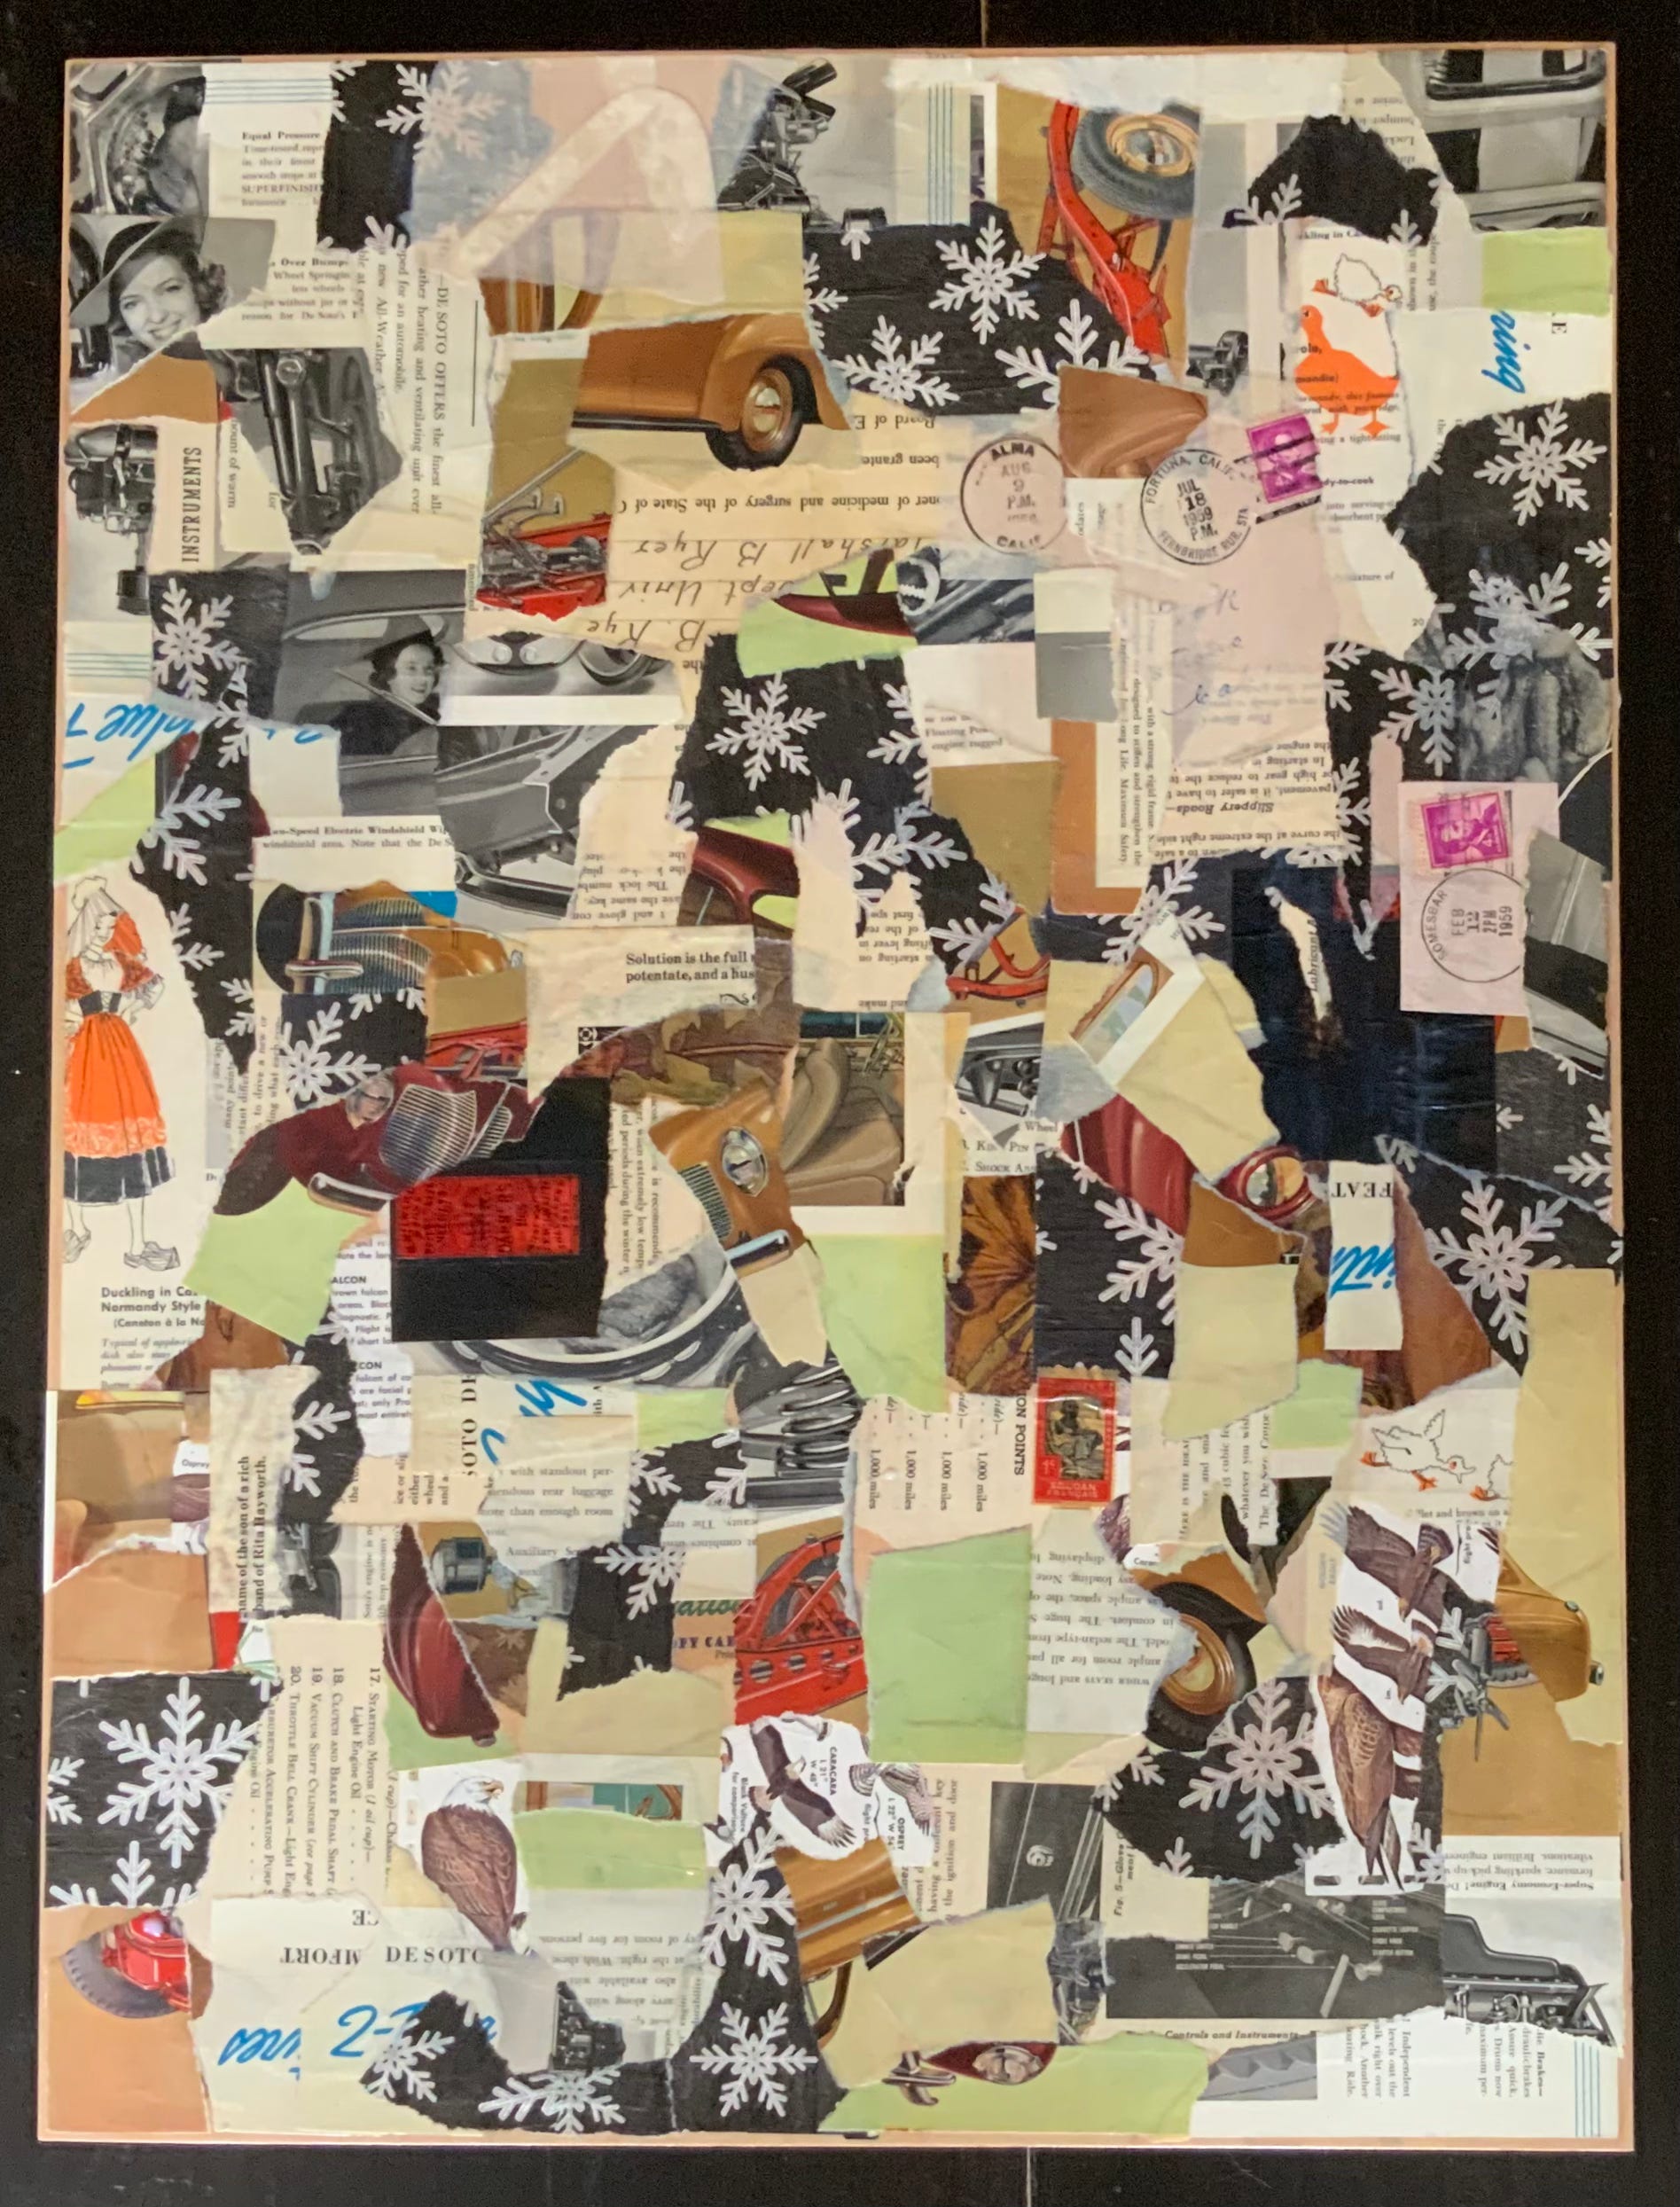
Welcome to my studio (aka the kitchen table for today’s project) for a peek at how I achieve the base layers for my latest work in the “Unforgotten” series (introduced in this June 24 Artist Note).

First, I’ll just note, there are some projects that I have to bring out of my studio for lack of appropriately stable table space. Creating the base layer for my larger collages is one of them (working on reverse glass paintings is the other). Collaging materials onto the wood surface requires adequate pressure, and my studio drawing table is known to shift when I add too much weight. If you ever have your art supplies spilling out into your home's common areas, you are in good company! (Thankfully, my family is very understanding.)
For today I decided I’ll show instead of tell, with this short video. I included the main points of interest (and materials) below. I’ll try to make more progress next week and provide more context after I apply a couple more layers. Until then, I hope you enjoy this little peek into today’s “Collage Friday” studio session!
~ Jennifer
Process Notes:
I use a tray of water to relax the paper fibers before adding them to the board.
I apply the medium in multiple directions to achieve uniformity, adding it both below and on top of the collage material and pressing firmly into place with my brush.
For this first layer, my goal is to completely cover the board.
Material Notes:
Substrate: 18x24 inch maple art board
Medium: Natural Acrylik
The first of many layers to come…
A Note to Subscribers
(Oops - the mini collages aren’t yet ready! Please stay tuned for the next, next Collage O post with a link for paid subscribers to choose your free mini collage! Please continue to Stay tuned!)
Collage Friday History
For 2026, I’m continuing to highlight some past favorite Collage O posts for those of you who may be new to the circle. This week, I’m sharing some more larger collages from the archives!